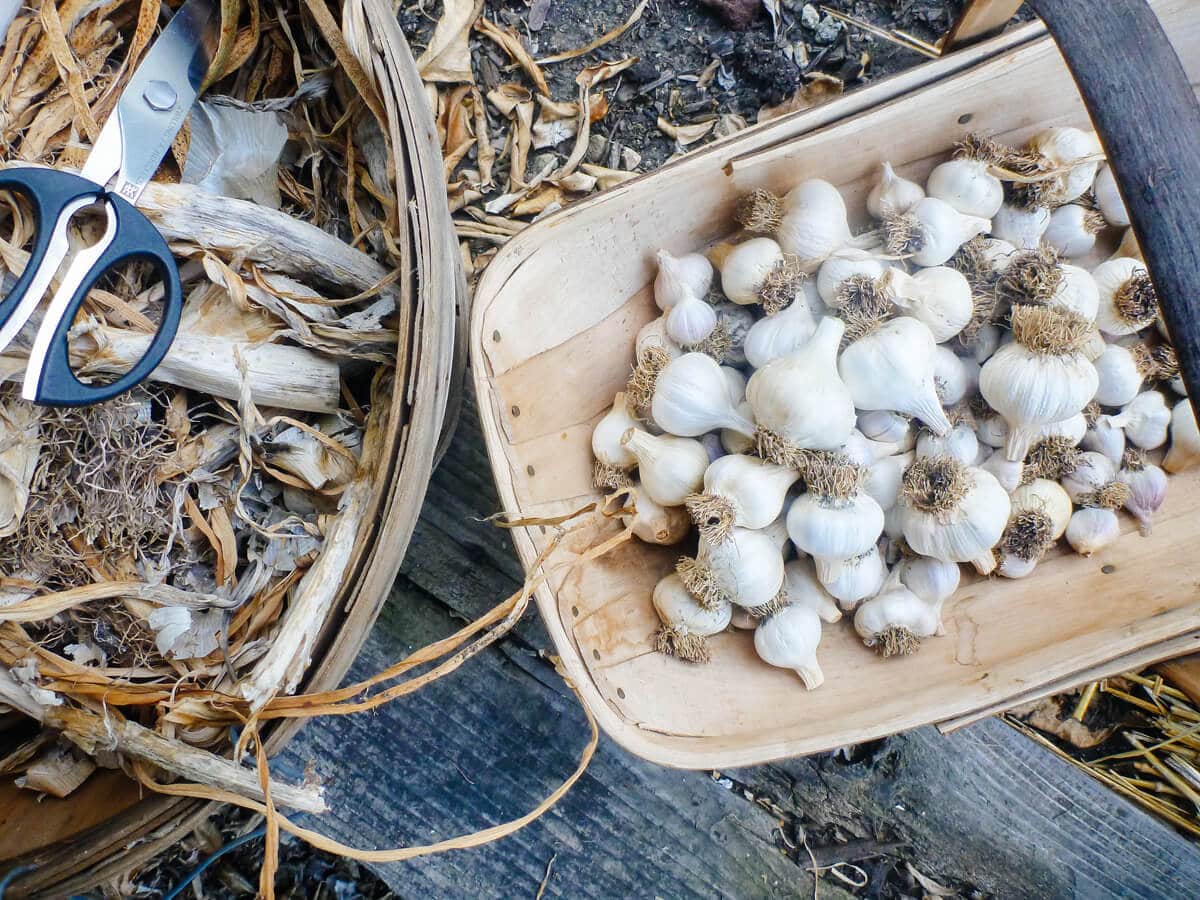
You waited seven, maybe nine months, for all that homegrown garlic to finish growing. Now that you’ve dug it all up, you want to savor it for as long as possible until the next garlic crop is ready.
This is when curing becomes your friend.
Curing is the process of letting your garlic dry down in preparation for long-term storage. Curing your garlic allows you to enjoy the flavor of your summer harvest well into winter… and one of my favorite things about garlic is that it still stays fresh long after it’s been plucked from the ground. No pickling, no canning. Just a simple head of garlic that looks and tastes the same as the day you pulled it.
Garlic that you want to eat right away can be used right away, straight from the garden.
Garlic that you want to cure should be moved to a dry, shady, airy place — this can be under a tree, on a covered porch, or in a well-ventilated garage. Lay the bulbs out one by one to provide good air circulation. Garlic is susceptible to sunburn (it can literally cook under the sun, which deteriorates the flavor), so you want to minimize the amount of direct sunlight it gets during the curing process.
No need to clean off all that dirt for now — you’ll tidy them up when you trim them. Don’t wash your garlic either… after all, the point is to dry them out!
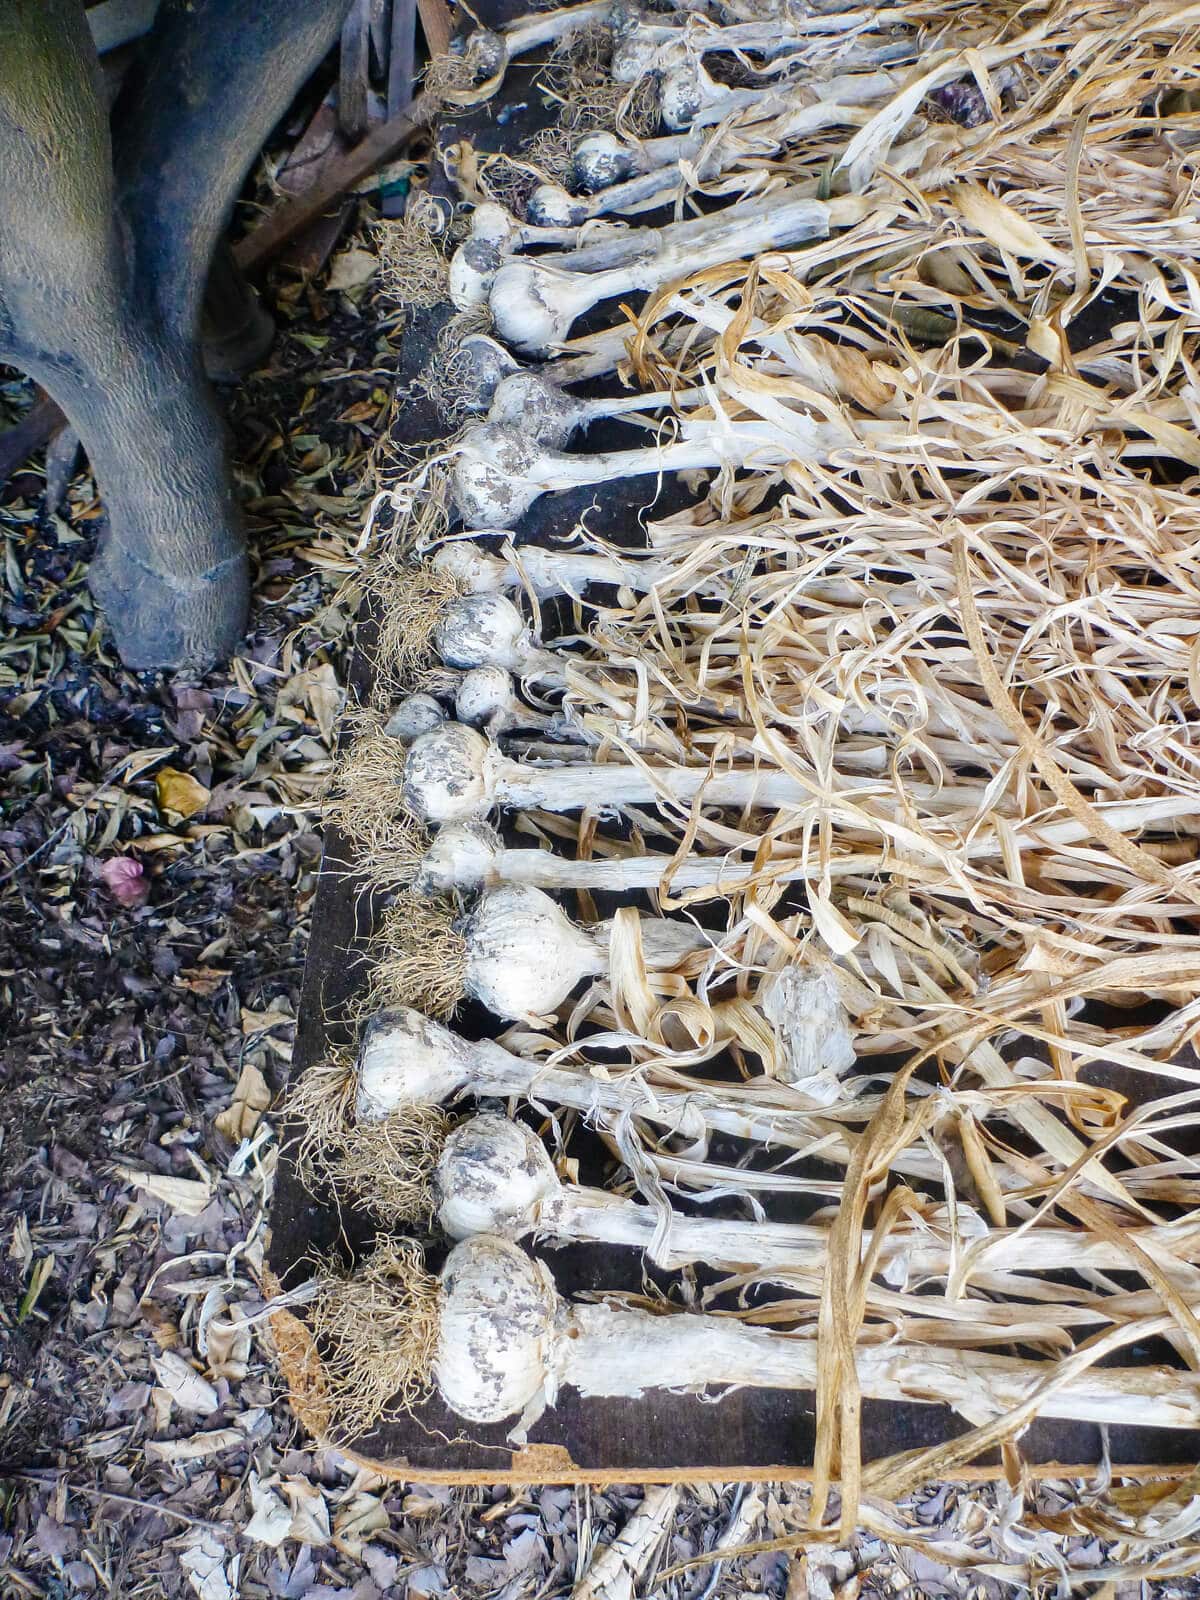
You can also gather the garlic into bunches, tie them up, and hang them from their stems. If you’re feeling crafty, you can even braid the stems, just like the beautiful ones you see in Italian restaurants. Braiding only works with nimble softneck garlics, and I find it helps to remove the scraggly bottom leaves first. The garlic is braided while some of the leaves are still green and pliable, and hung to dry in a shady spot.
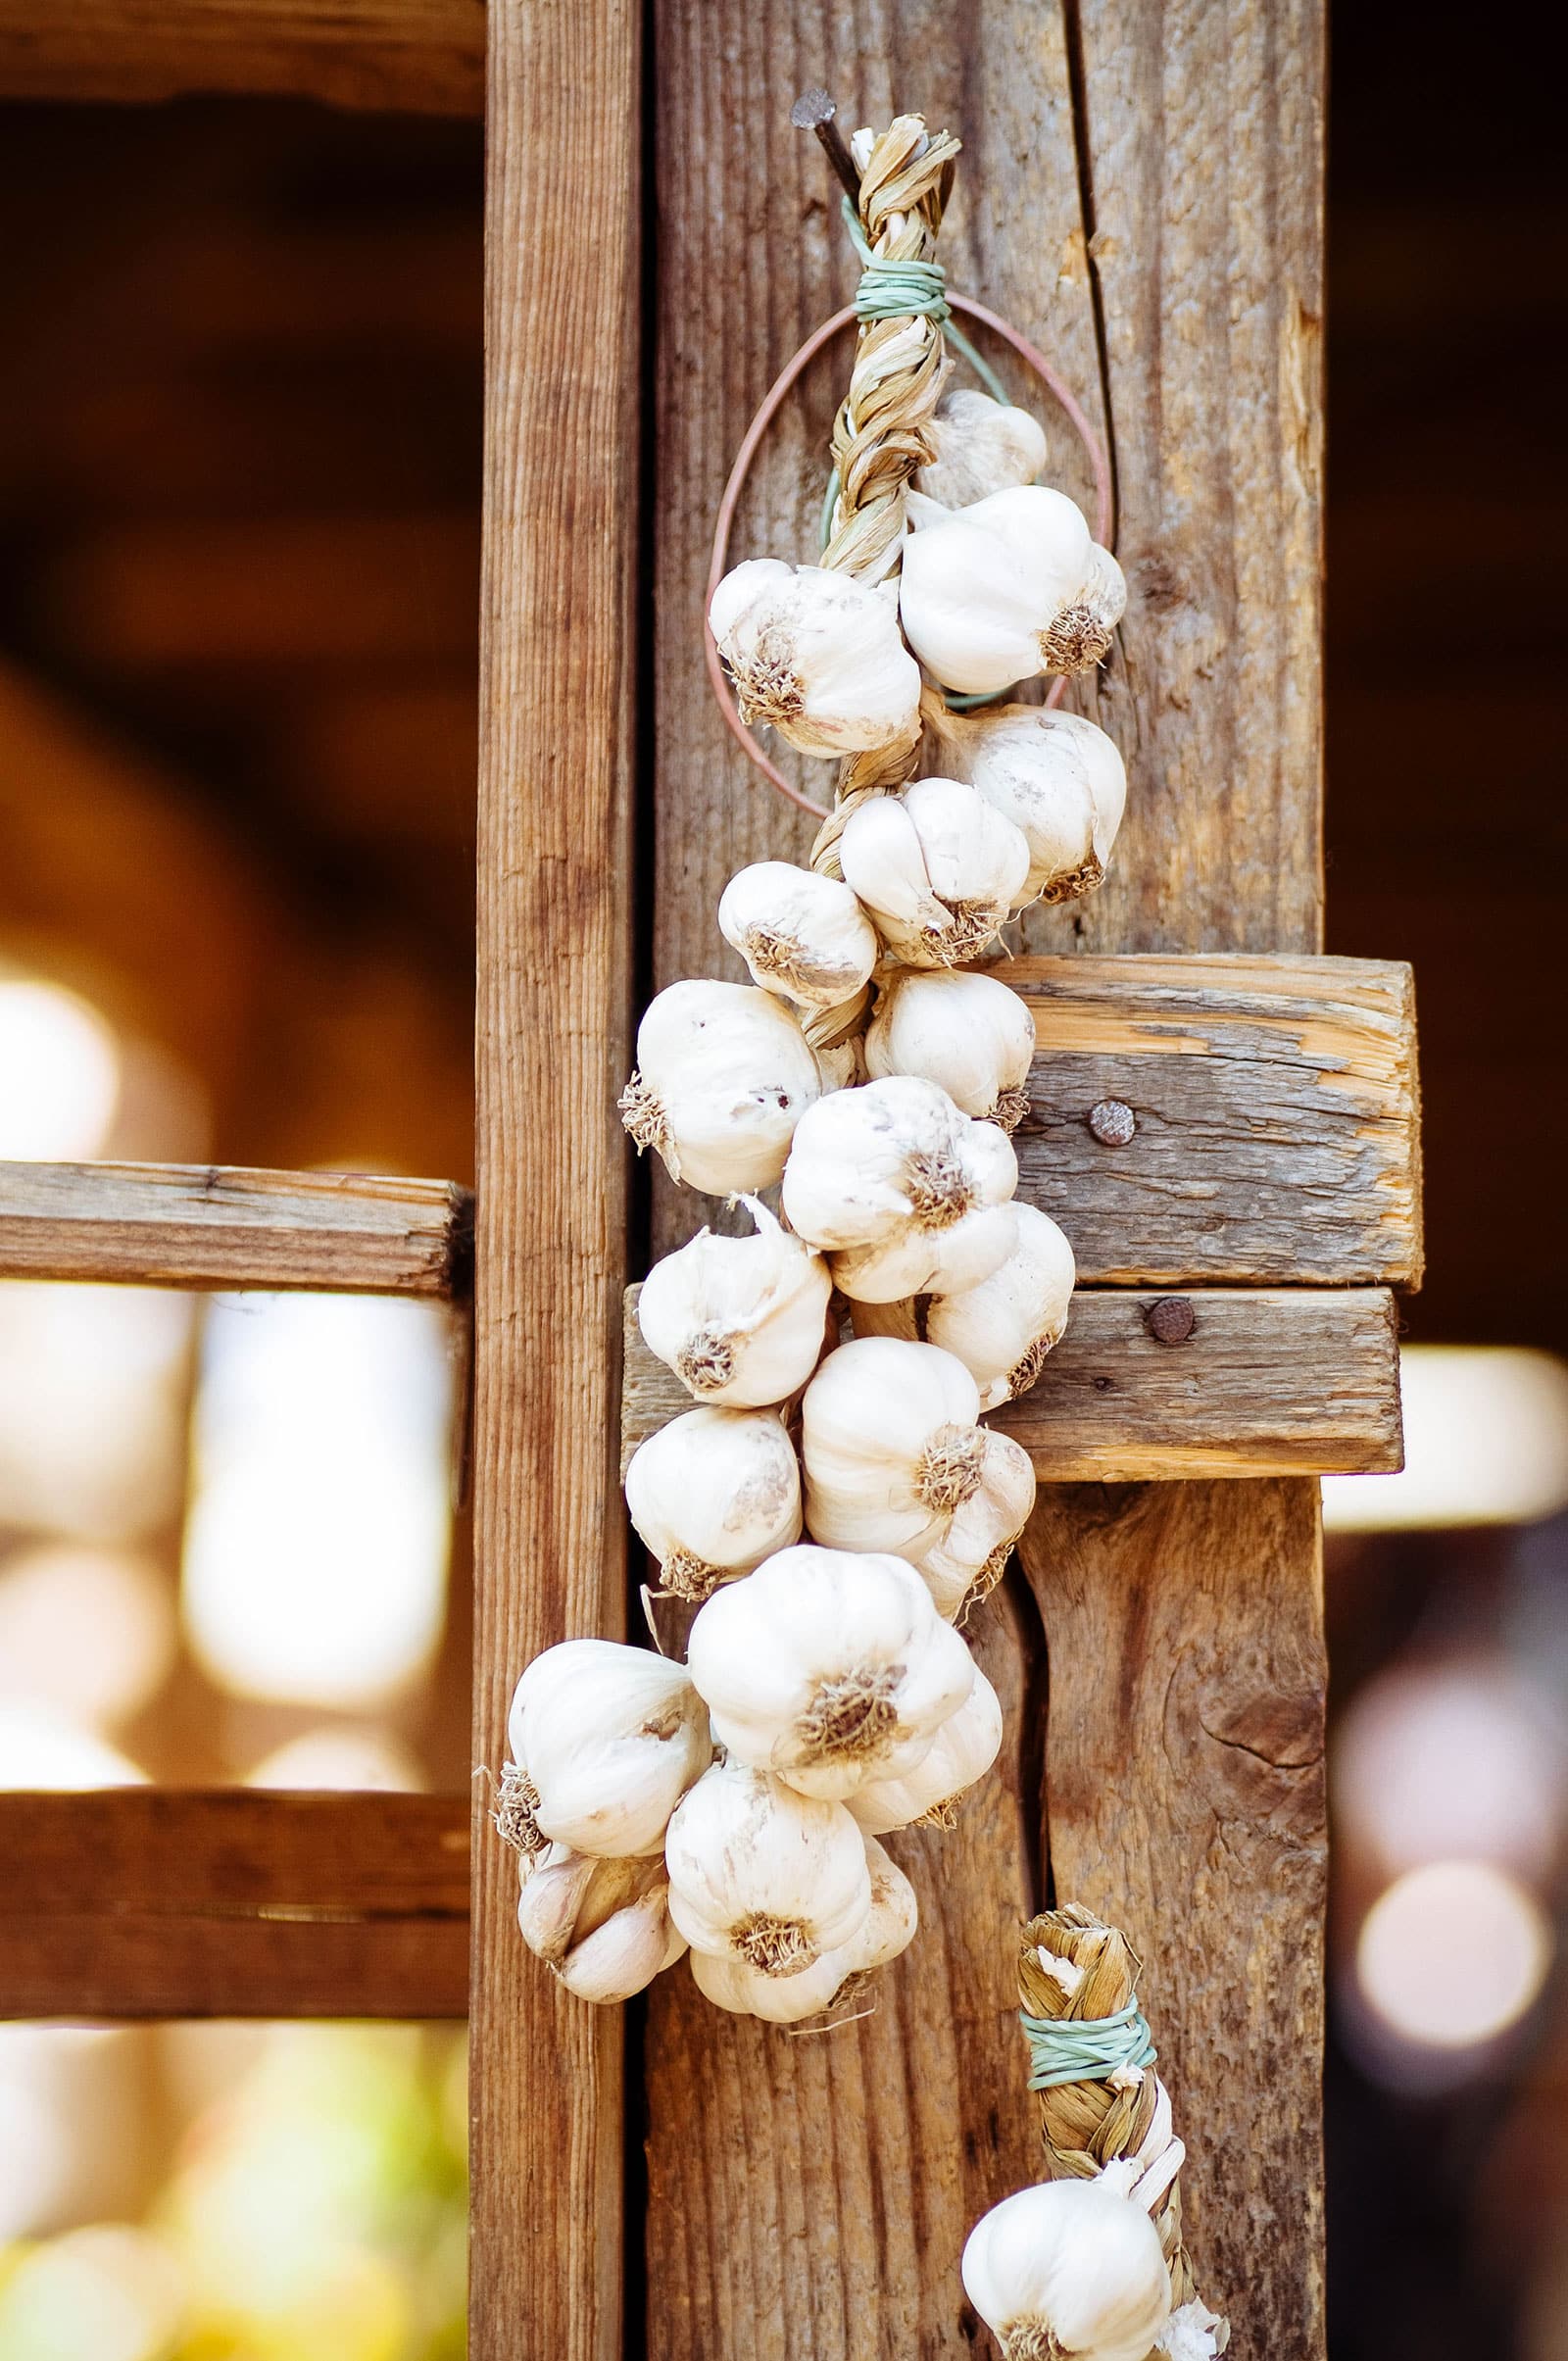
Do not remove the leaves while the garlic is curing. The bulb continues to draw energy from the leaves and roots until all that moisture evaporates. Keeping the leaves intact also helps to prevent fungi or other lurking garden contaminants from spoiling the garlic before it’s fully cured.
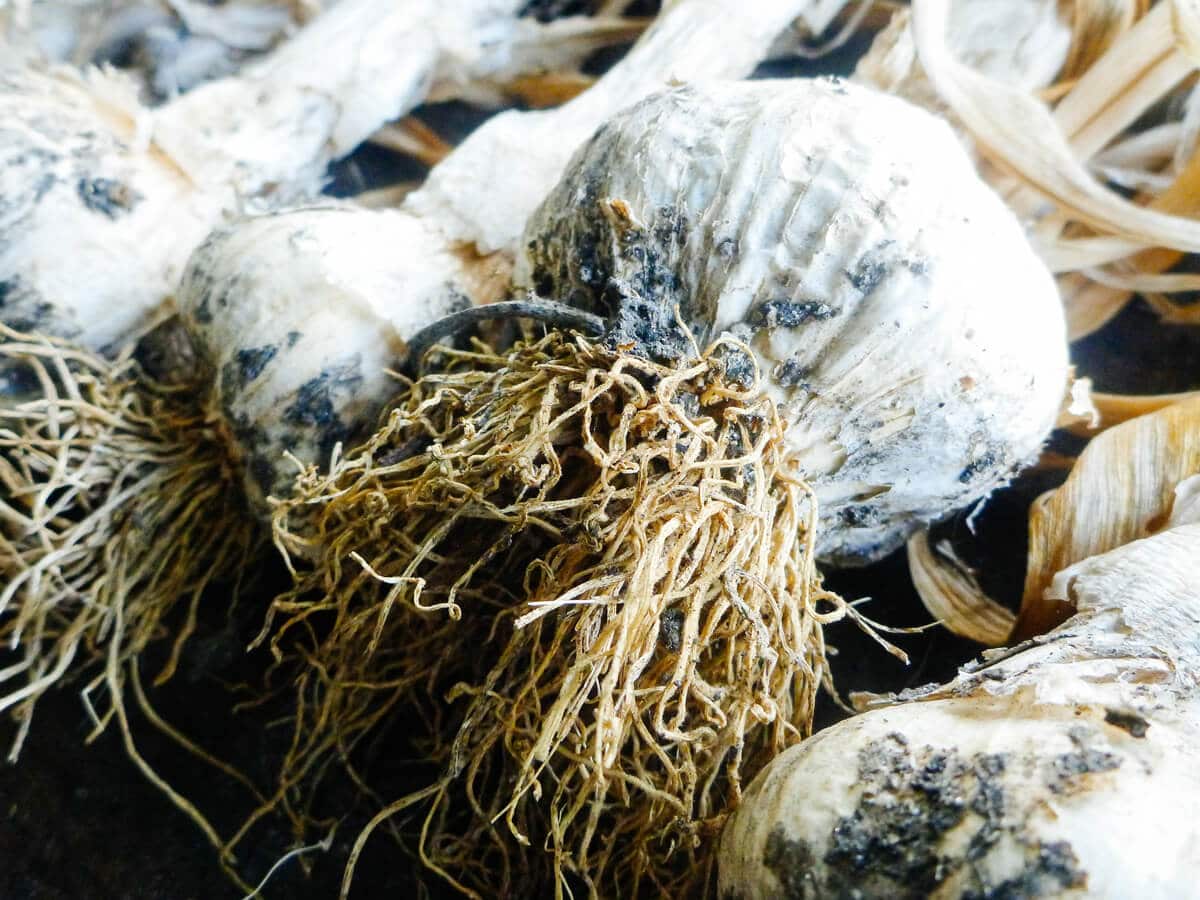
After a month (or possibly up to two months, if your weather has been humid), the roots should look shriveled and feel stiff like a bottle brush, and the leaves should be completely brown and dried.
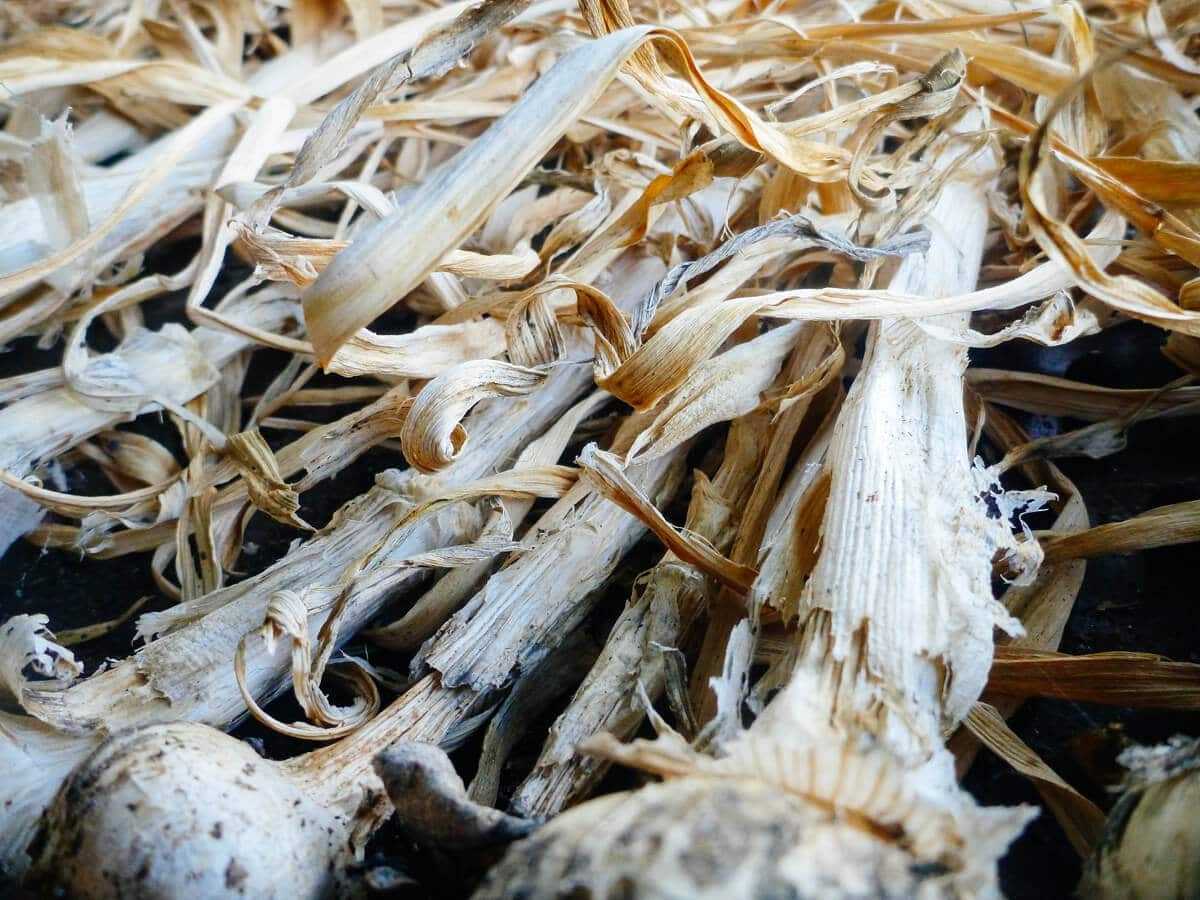
To clean up the garlic for storage, trim off the roots and leaves to 1/4 or 1/2 inch. More dirt will dislodge and a couple extra layers of bulb wrappers may flake off, giving you a nice and neatly packaged bulb. Remember not to remove too many wrappers in case you expose the cloves.
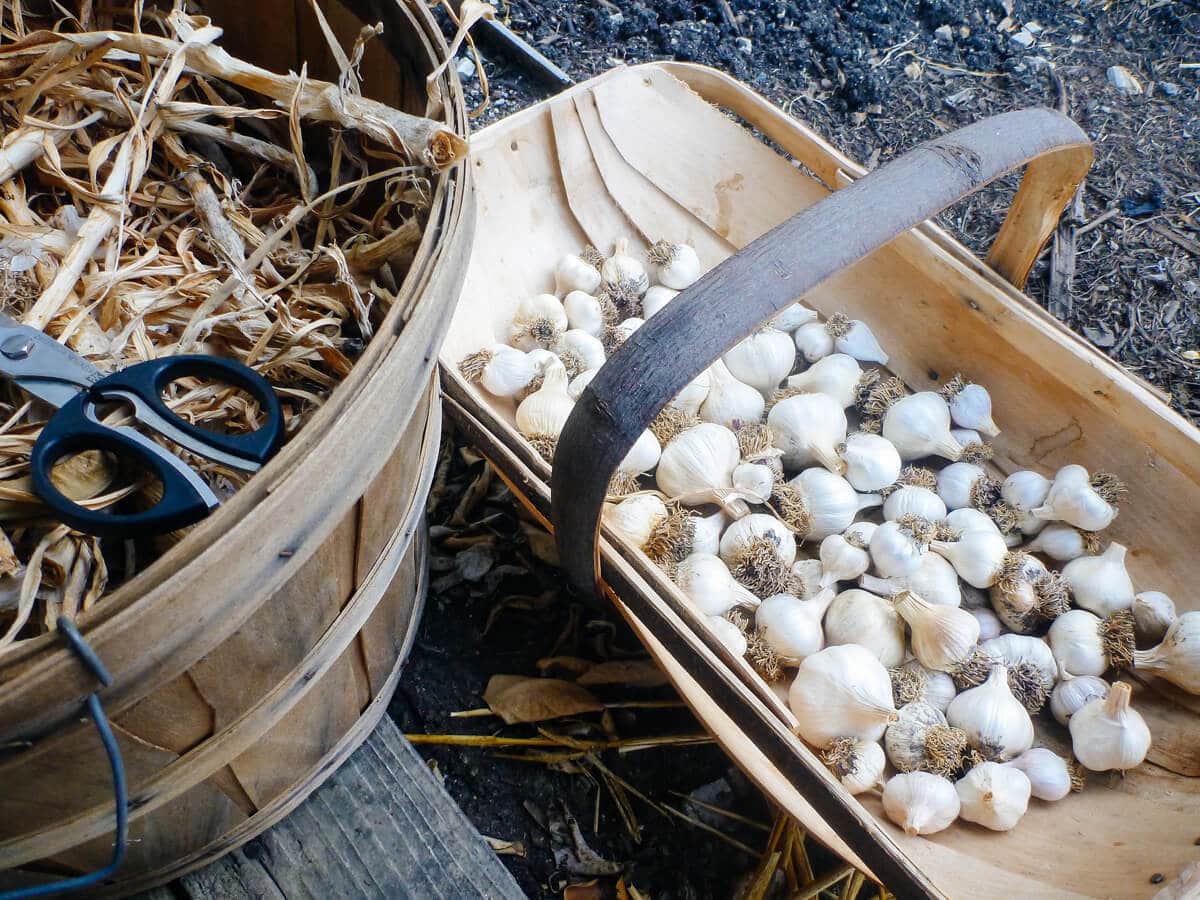
If you braided your garlic, you saved yourself an extra step and can simply snip a bulb off the braid when you need it.
Set aside your most beautiful heads of garlic with the biggest cloves to use as seed garlic the following season.
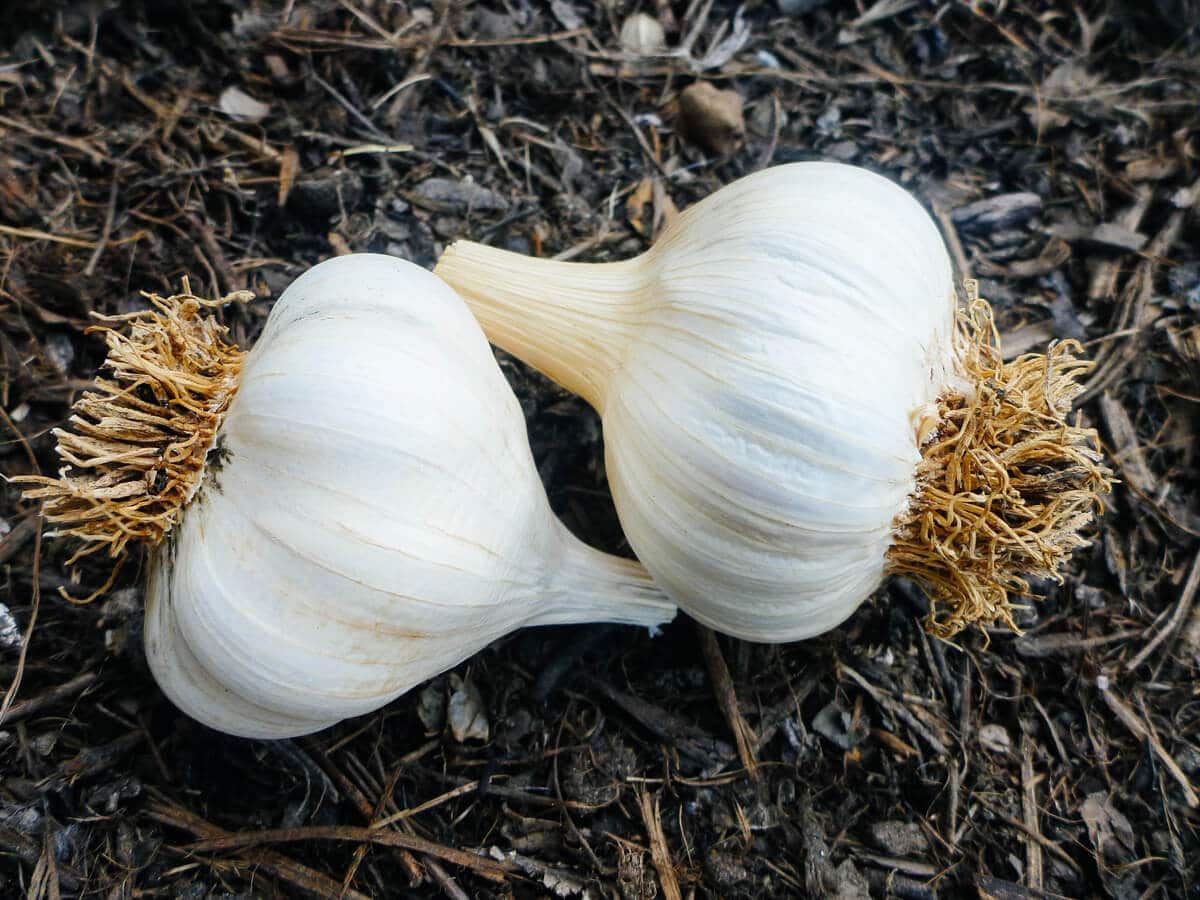
Stash it all in mesh bags, woven baskets, old terracotta pots, brown paper bags, or even cardboard beer/soda cases — as long as the container is breathable and the environment stays dry. I have even heard of people storing garlic in old pantyhose by hanging it from the ceiling, putting a knot between each garlic head, and scissoring off a knot when needed — but really, who has pantyhose laying around these days?!
Read more: http://www.gardenbetty.com/2011/07/a-guide-to-curing-and-storing-garlic/#ixzz2X8LvPHVe
No comments:
Post a Comment